

After installing ShopWP and connecting your Shopify store to WordPress, the first thing you’re probably wondering is: “Where do my products show up?”
This guide will explain how product and collection pages work in ShopWP, where to manage them, and how you can customize things to your liking.
The Default Pages
ShopWP comes with two default pages out of the box:
- The Product Listing Page (PLP)
- The Product Detail Page (PDP)
These two pages are not technically “pages”, but rather templates that you can customize.
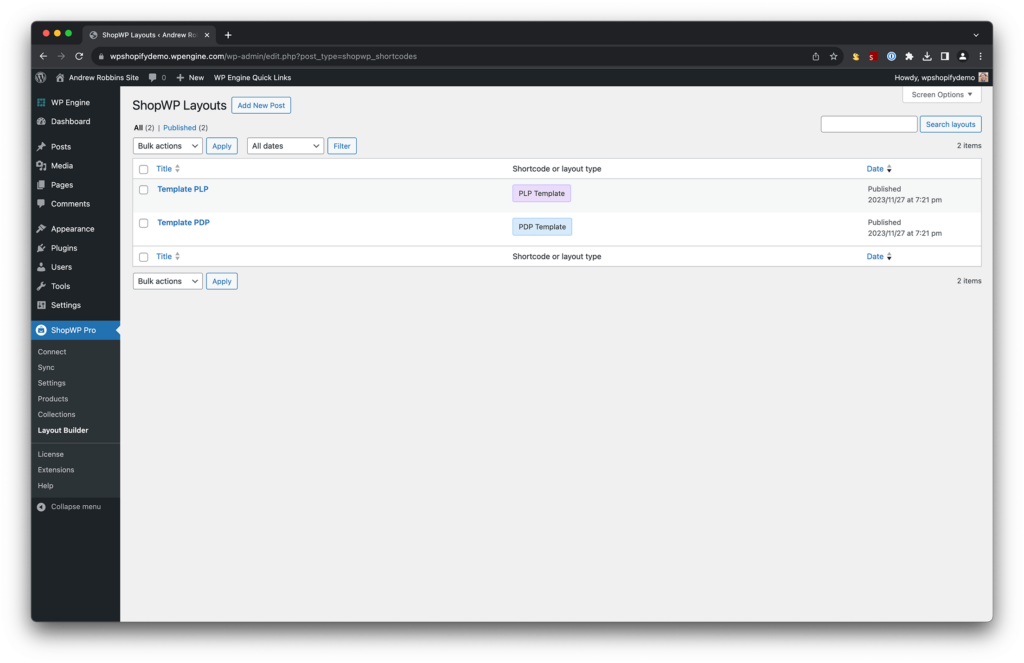
These templates are created when the plugin is first installed. The design can be edited using the ShopWP Layout Builder tool by going to WordPress Dashboard - ShopWP Pro - Layout Builder.
You can create templates for the following pages:
- Product Listing Page ( PLP)
- Product Detail Page (PDP)
- Collection Listing Page (CLP)
- Collection Detail Page (CDP)
How the URLs work
ShopWP uses the native WordPress permalink settings to control the URLs for both your Product and Collection pages.
The URL you choose here will be used for both your PLP and PDP pages.
For example, if your site is https://example.com and your ShopWP Products URL is set to products, your product detail page URL will look like this:
https://example.com/products/super-awesome-productThe slug here is super-awesome-product and will match the slug you have set for your product inside Shopify. This is pulled over during a ShopWP sync.
Changing default page URLs
If you open the ShopWP General settings you’ll notice two URLs listed for your products and collections. These URLs are automatically set for you when the plugin is first installed.
By default, the products URL is set to /products and collections URL is set to /collections.
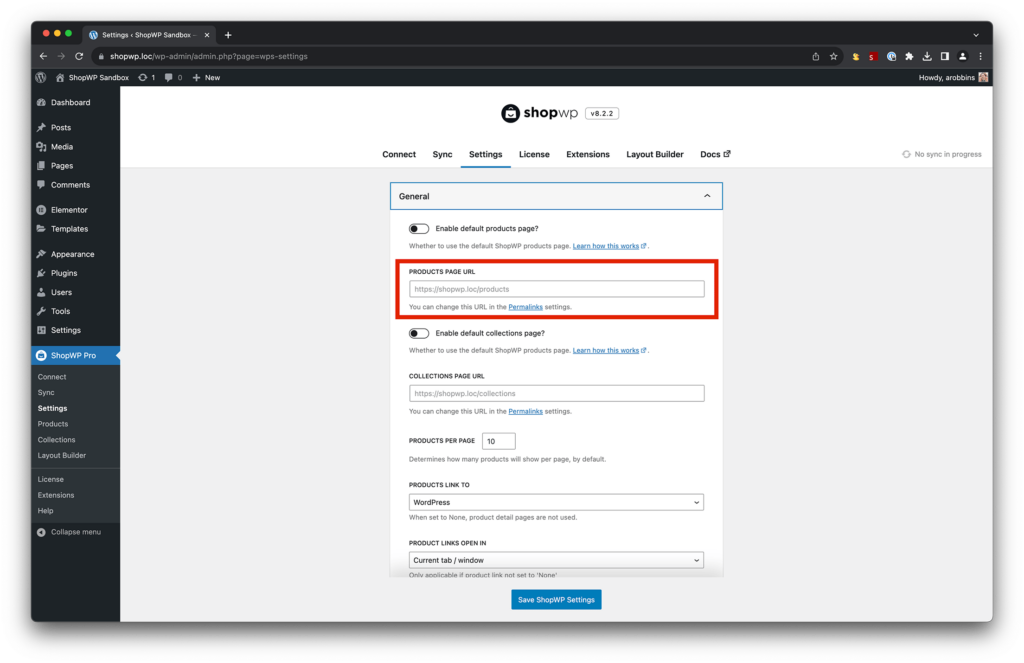
Your products and collections will show up here by default. To edit these URLs, you’ll need to open your WordPress Permalink settings.
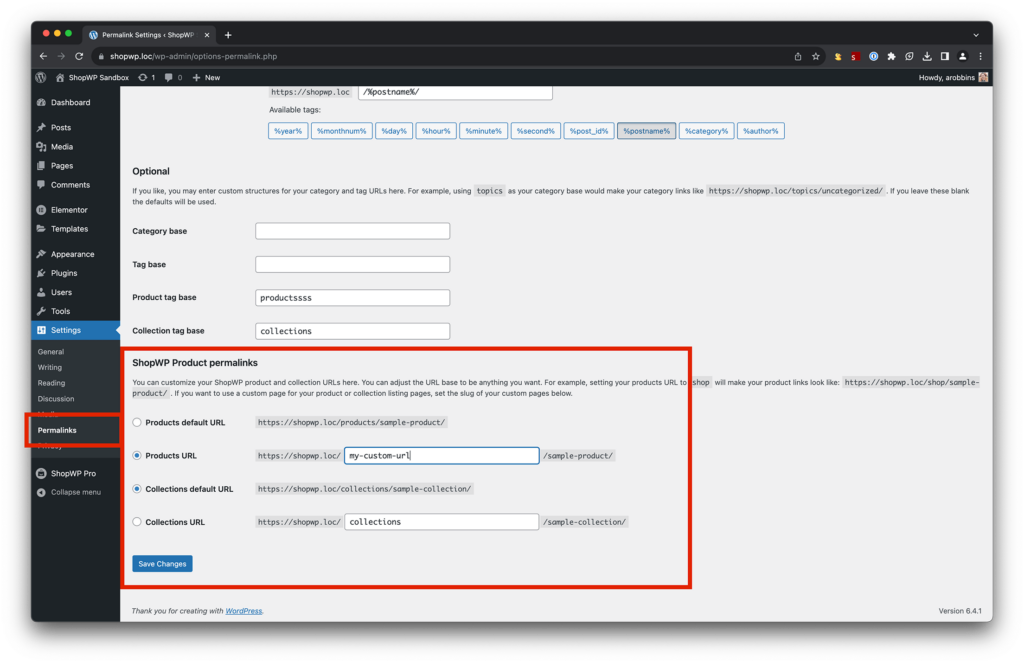
You can set this to anything you want!
You don’t need a corresponding WordPress page to match the slug you choose.
Turning off default pages
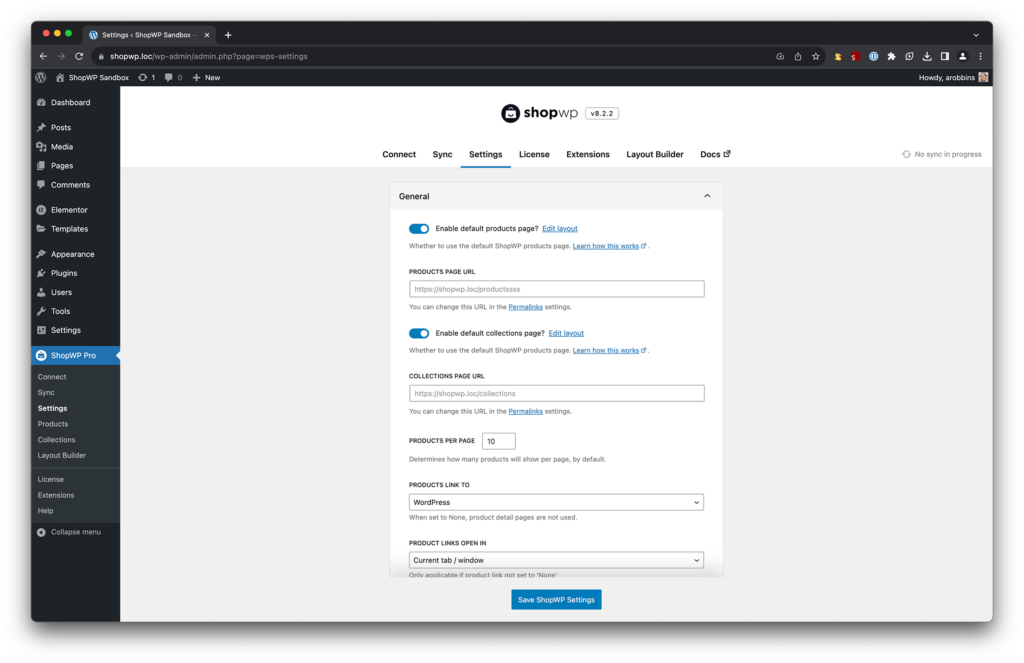
If you don’t wish to use the default ShopWP pages you can turn them off in the plugin settings here: WordPress Dashboard - ShopWP Pro - Settings - General
Simply uncheck the “Enable default products page” and “Enable default collections page” settings.
Note: you may need to flush your WordPress Permalinks after turning these off.
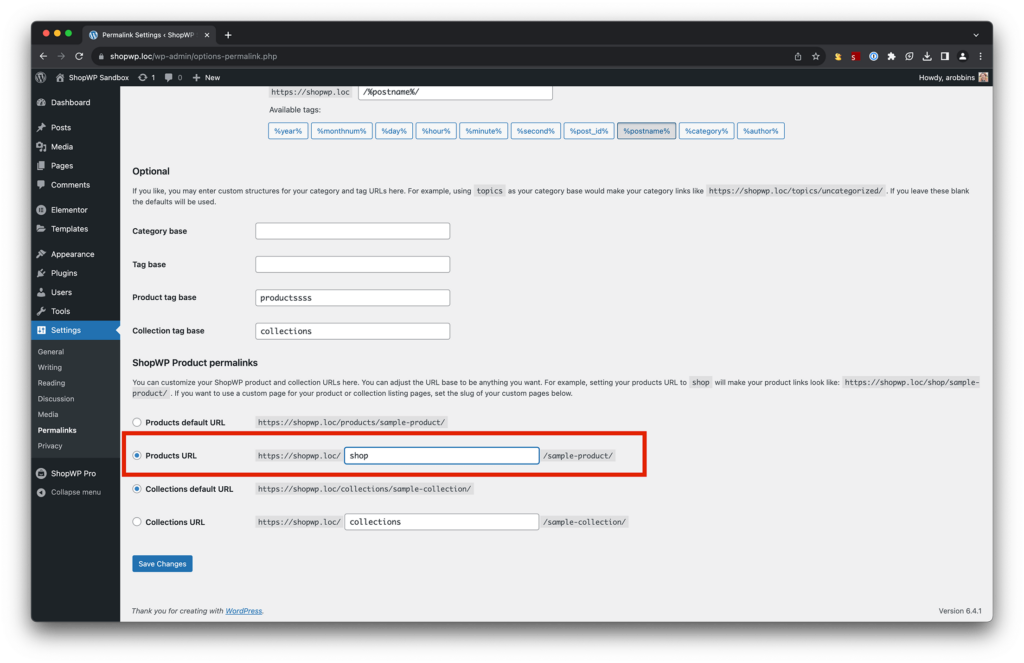
Using a custom products page
If you wish to use your own custom products listing page you’ll need to do two things:
1. Turn off the ShopWP default products page (see above)
2. Change the products URL to match the slug of your custom page
For example, if you created a custom page called Shop with a slug of shop, then you’ll need to change the ShopWP products URL also to shop.
See below:
How detail pages work
ShopWP will create product and collection detail pages automatically for you during a sync. This is the main feature of the ShopWP syncing process.
Running a sync
1. First, open the “Sync” tab and use the One-time Sync button. This will attempt to sync all of your products.
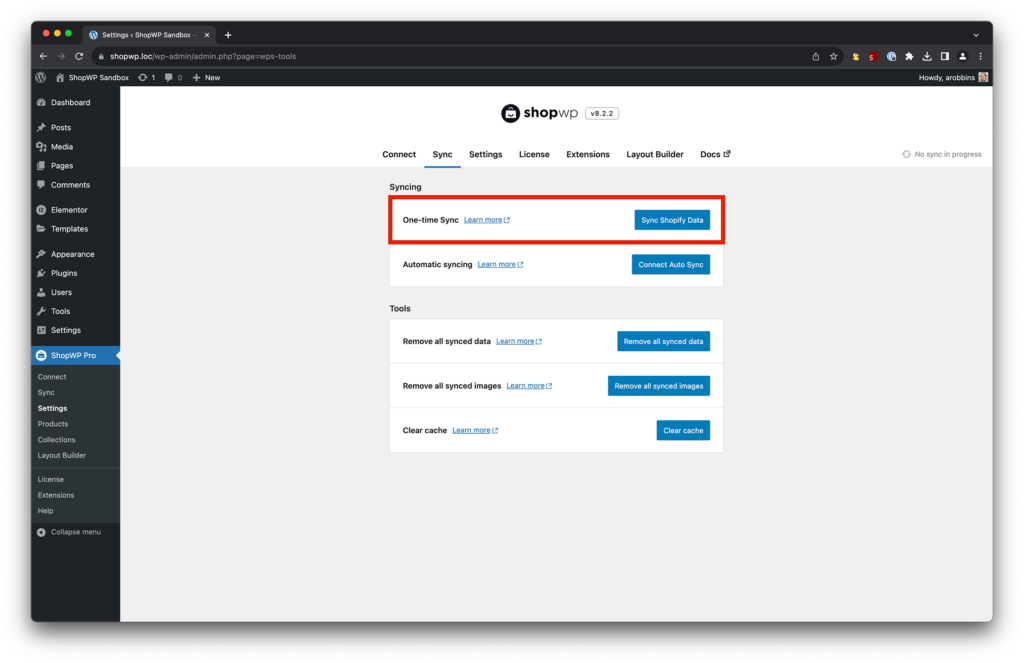
If you don’t wish to sync all of your products you can adjust the syncing settings first. For example, only sync products from a specific collection or with a specific tag.
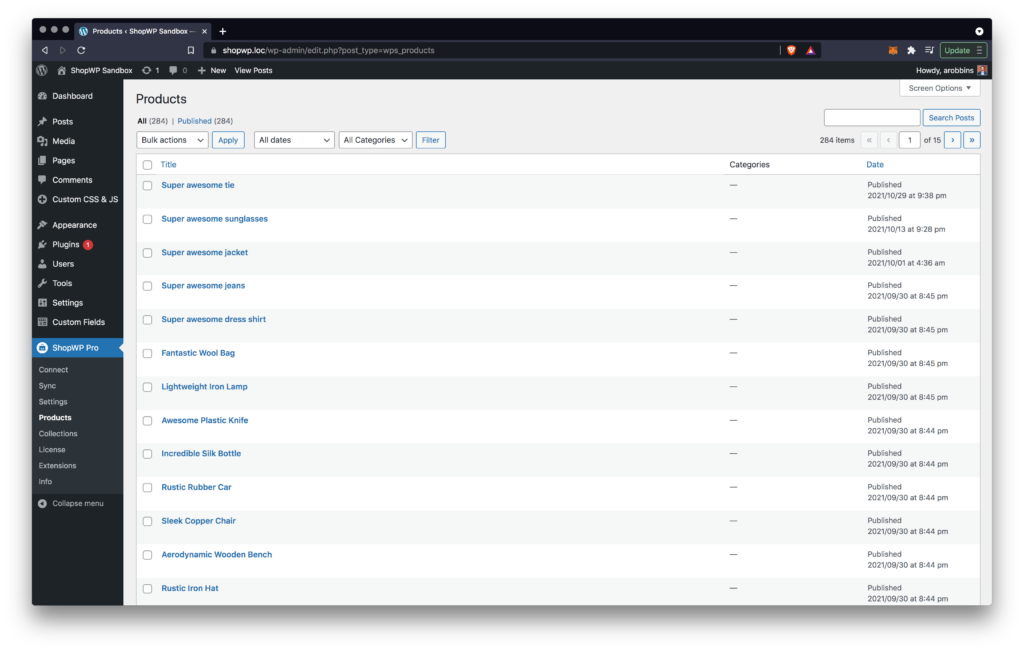
2. Once the sync is finished you will see a list of products within WordPress under ShopWP - Products.
Conclusion
That’s all there is to it! Creating pages in WordPress for your Shopify products using ShopWP is pretty easy and straight forward.
You can decide whether or not to use the built-in pages and also customize the page URLs. We’ve tried our best to make it as seamless as possible.
With the Layout Builder tool, you can also customize the design of these pages which really gives you full control over how your store will look—without messing with PHP code.