Note: this guide is currently written for Divi 4 and earlier. ShopWP will work seamlessly with Divi 5 once released, and this post will be updated with any changes at that time.
So you have a fancy website built in Divi and now you want to sell products using ShopWP. You may be wondering… how can I do this?
The answer is the ShopWP Divi extension.
This extension is made to work seamlessly with Divi. You gain access to nine custom Divi modules for creating highly customizable Shopify product layouts.
In this guide, I’ll walk you through step-by-step on how to install, configure, and use the ShopWP Divi extension.
Let’s get started!
Requirements
Before we begin, ensure you have the following requirements met:
- A WordPress site with the Divi theme installed.
- The core ShopWP plugin installed and activated.
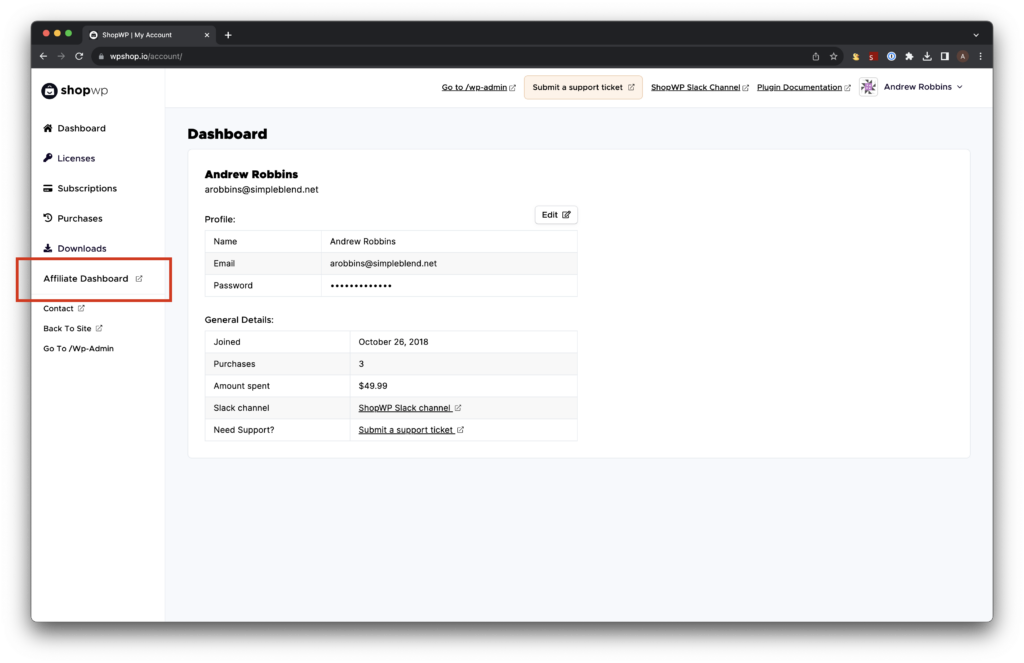
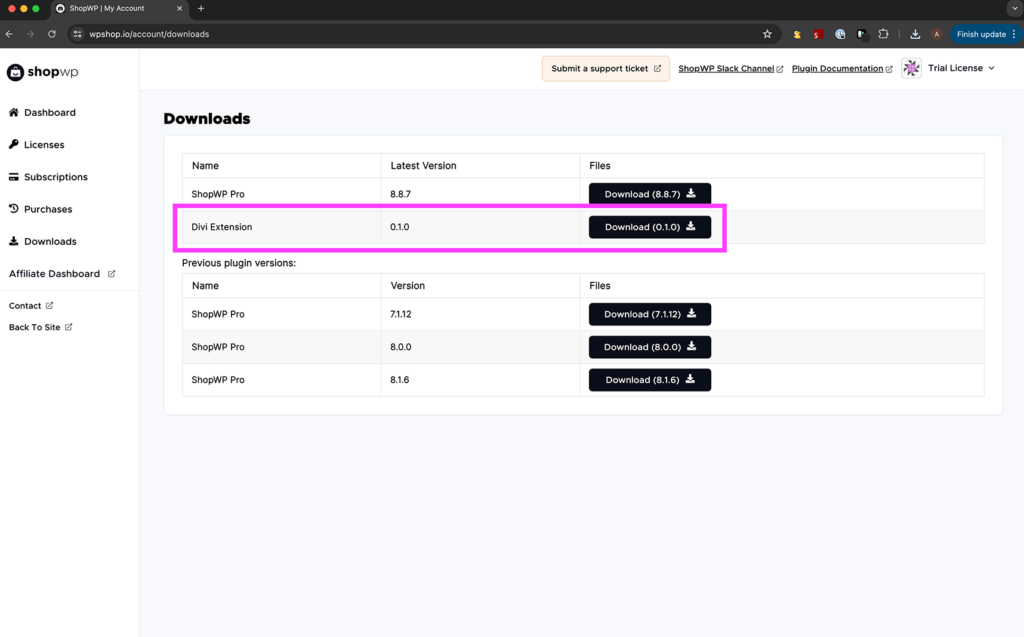
- The ShopWP Divi extension plugin. You can download it from your ShopWP account under Account – Downloads after purchasing.
Installing
To install the ShopWP Divi extension, follow these steps:
First, download the ShopWP Divi extension from your ShopWP account. (You can also find a link to this .zip file in the purchase confirmation email that was sent to you.)
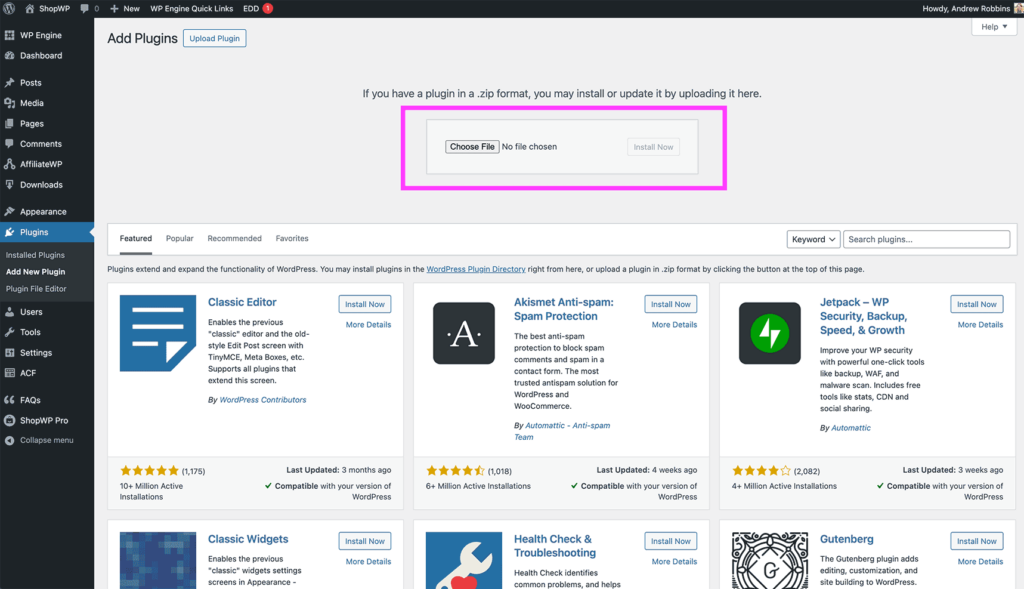
Log in to your WordPress Admin dashboard and navigate to Plugins > Add New.
Click Upload Plugin.
Choose the downloaded ShopWP Divi extension .zip file and click Install Now.
After installation, click Activate Plugin.
Configuring
The ShopWP Divi extension doesn’t need much configuring, but there are two things to make sure you do after installation.
First, make sure the Divi builder is enabled for the Products and Collections post types. To do this, open the Divi Theme Options and click the Builder tab.
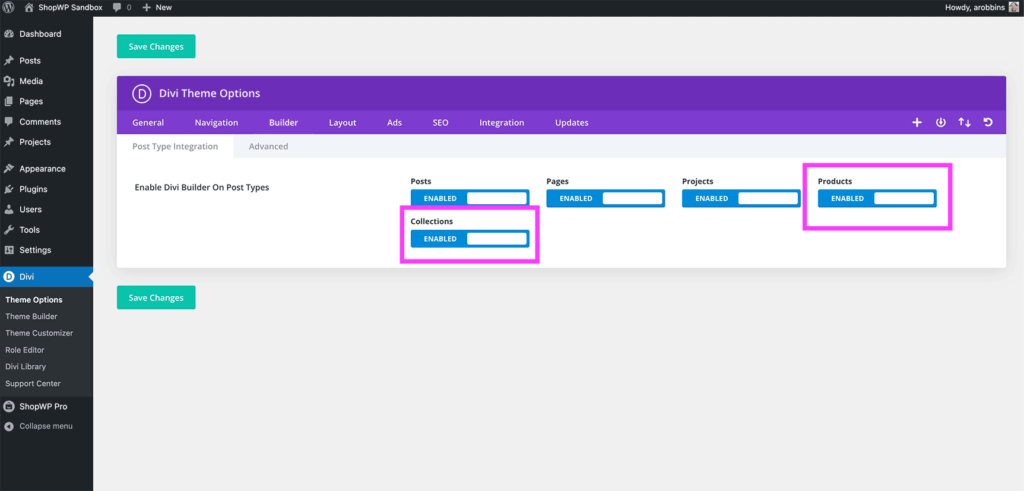
From there, make sure Products and Collections are enabled.
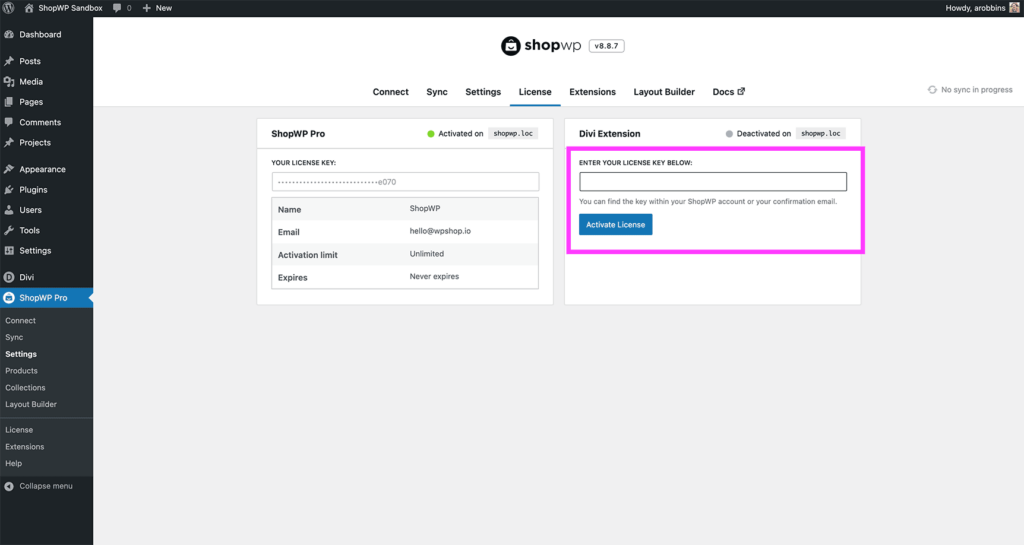
Second, make sure your ShopWP Divi license key is activated. This is important so that you receive plugin update notifications.
Open the ShopWP settings and click the License tab at the top. From there you will see a place to enter your license key. Click activate and you’re all set!
You can find your license key inside your ShopWP account.
Using the ShopWP modules
The ShopWP Divi extension comes with nine custom modules for displaying products. I’ll be focusing the attention of this article on using the Products module since that’s the most common use-case.
Let’s dive right in.
Choose a page you want to add products to. This can be an existing page or a new one to test things out. Once the page is created, open the Divi visual builder.
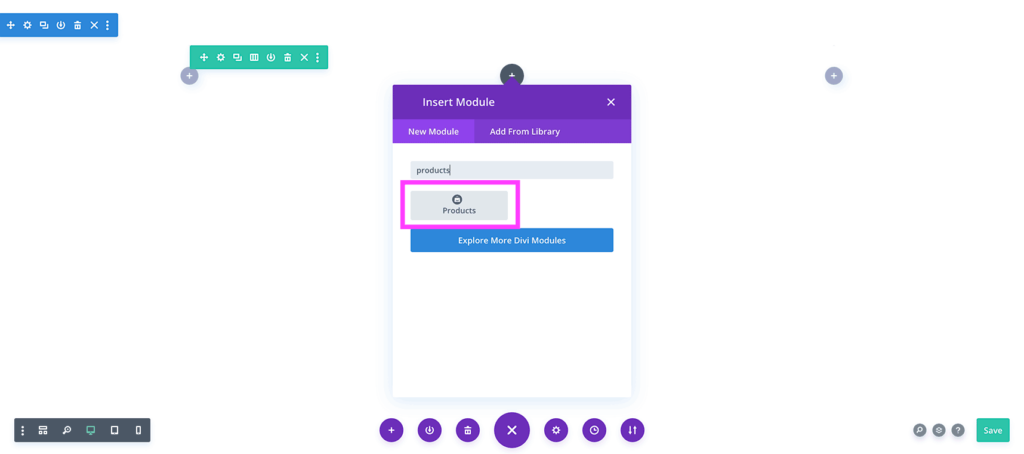
Add a new Divi section and within that section, search for the “Products” Divi module. You will see a small ShopWP logo with the module appear. Add this to your new section.
After the module is added, you’ll see a list of product settings within the Divi modal. This is where you can find all 200+ product settings. All available settings found in the products shortcodes will be here for easy customization.
Filtering products
Let’s try filtering products by collection.
I have an existing collection called “Super” that I like it use. Type your collection name in the field and watch your products change automatically!
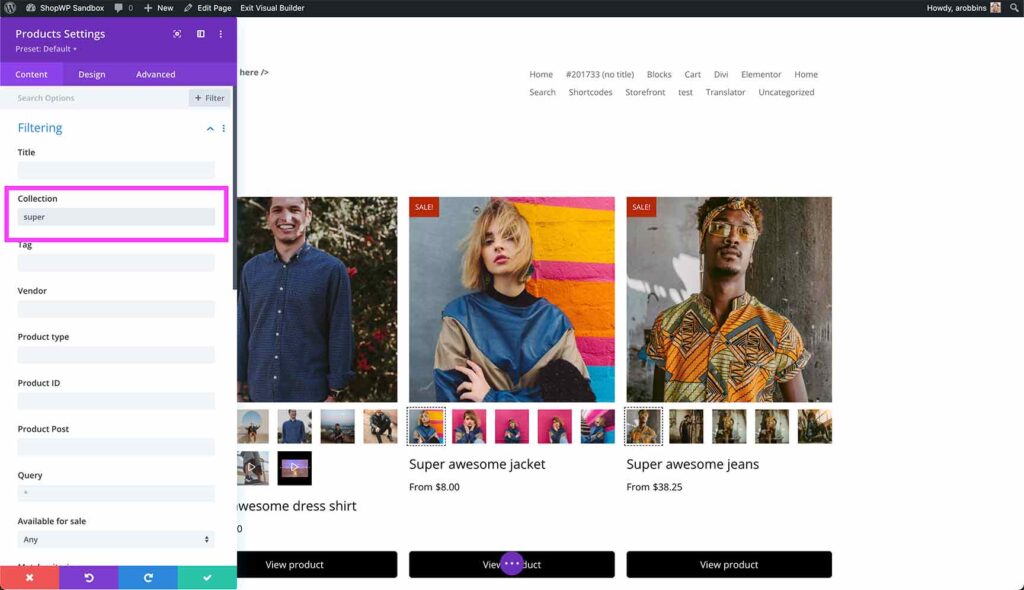
You can do this for any criteria you want: filter by tag, vendor, product ID, product type, etc.
You can even combine filtering criteria by setting the “Match Criteria” to “AND”.
Customizing the product images
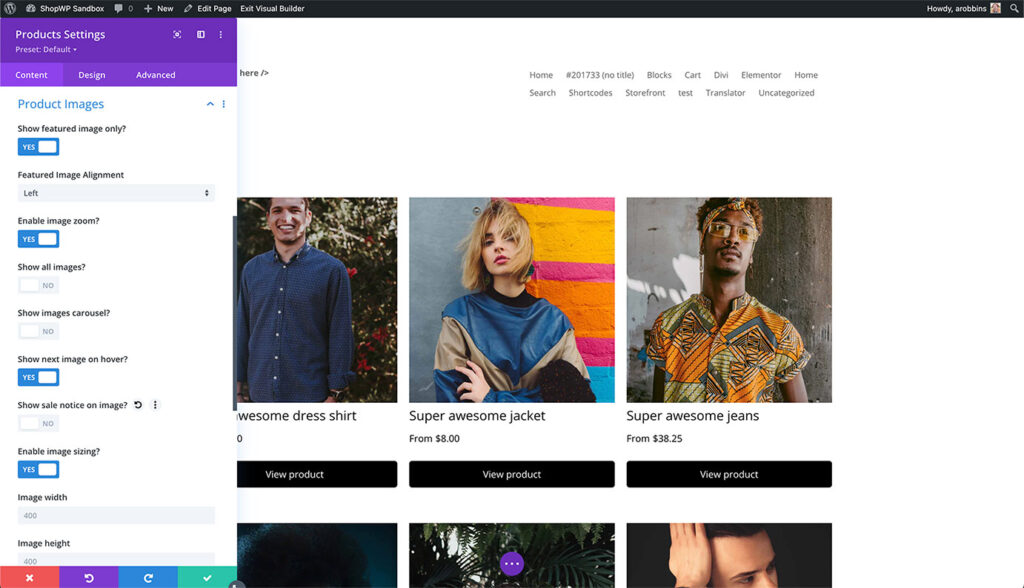
I’m not a fan of having all the product thumbnails listed. Let’s hide them. Click the products module and open the “Product Images” section.
From there, turn on the setting Show featured image only?. You should see your thumbnails disappear.
I also don’t like how there is a “Sale” notice on top of the image. We can hide that as well by turning off the Show sale notice on image setting.
Looking much better!
Customizing the product buy button
Now let’s customize the buy button. Instead of showing “View product”, I want each product to show the variant selections, and also send customers directly to the Shopify checkout page after they choose a variant. ShopWP provides this functionality out of the box.
Open the products module and click the “Checkout” section. You’ll find an option for direct checkout. Turn that on.
Let’s also update the filtering criteria so we’re only displaying one product. Open the Filtering section again and remove our collections filter. Then type in the title of one of your products in the Title field.
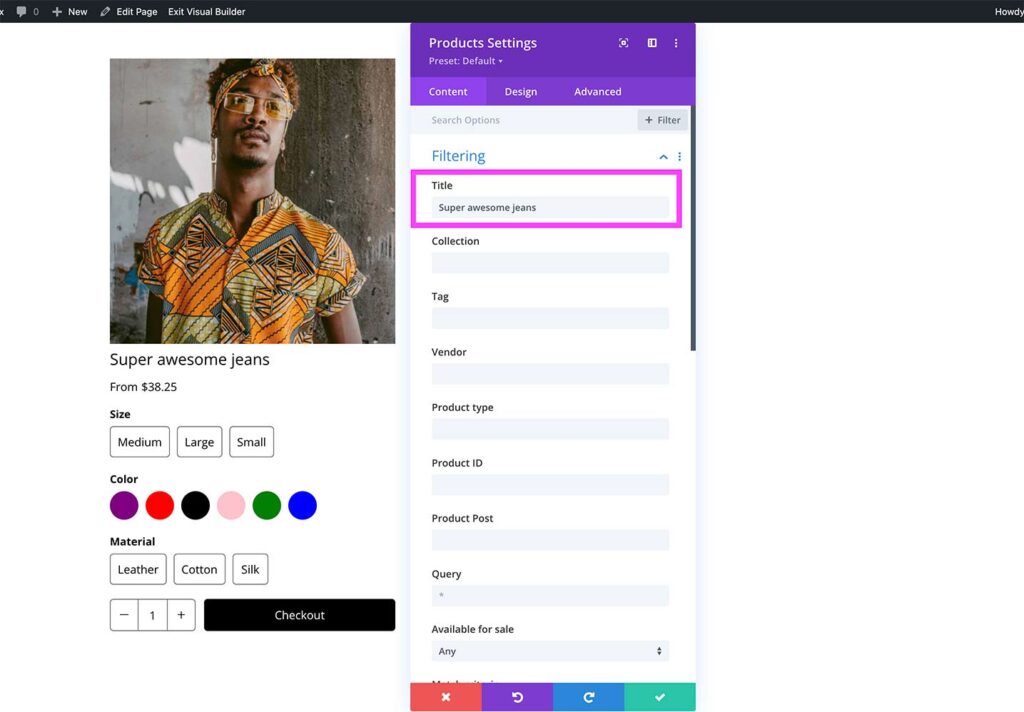
Voilà!
Creating custom product templates
One of the really great features of the ShopWP Divi extension is the ability to customize the product detail page template—all by using Divi!
ShopWP will create product detail pages for you after syncing. This template is normally only customizable using the ShopWP Layout Builder, or by overriding a PHP file in your theme.
Let’s customize this template using Divi instead.
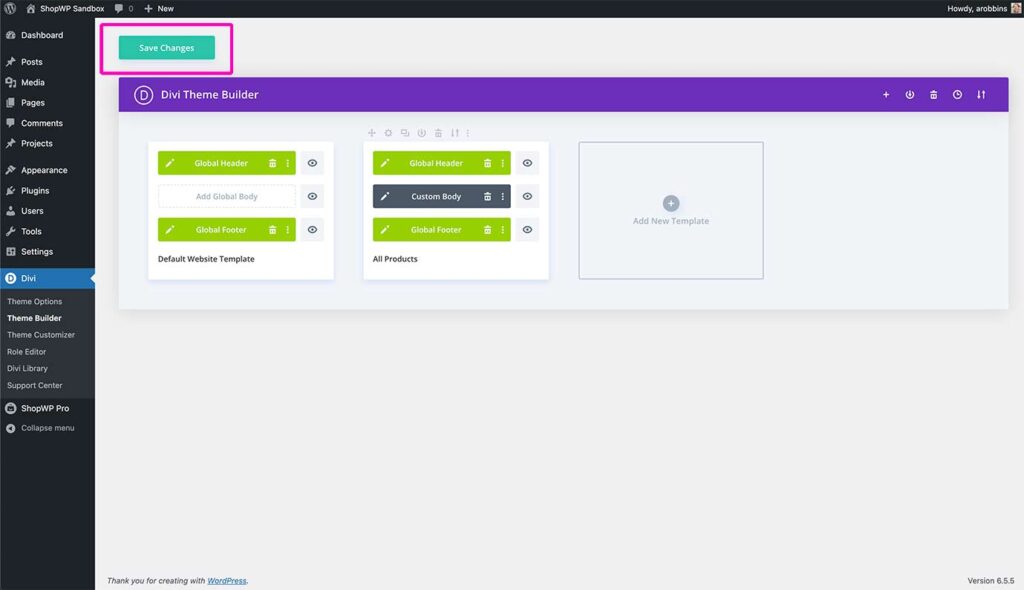
Within WordPress, open the “Theme Builder” settings. You may see something different depending on how many templates you have created.
Conditional Template Settings
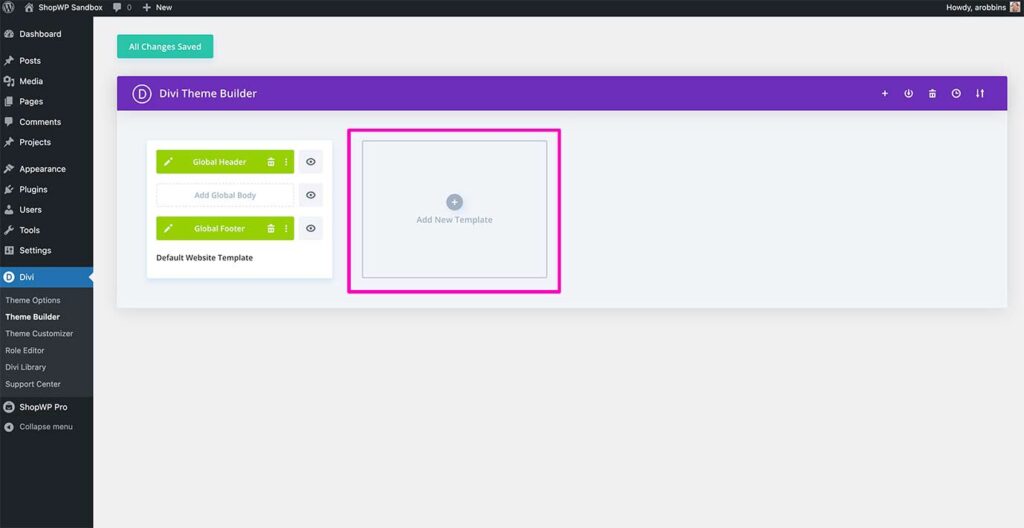
Click the “Add New Template” button and choose “Build New Template”. We’ll create a custom template for the ShopWP product pages.
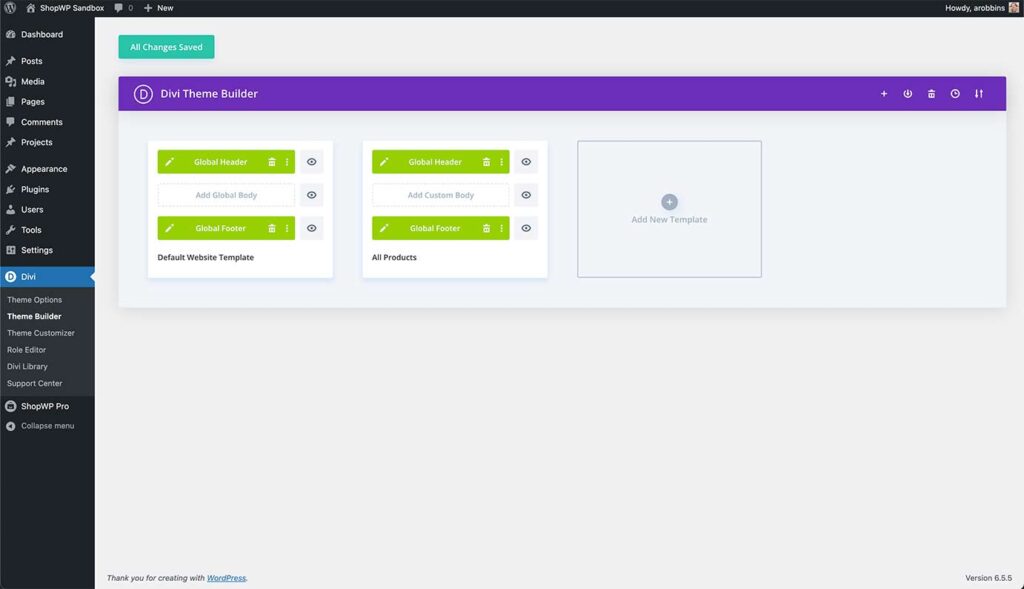
Within the Template Settings modal, scroll down and choose “All products”.
Then click create template.

Now, click “Add custom body” -> “Build custom body”. This will open the Divi builder and let us customize the template itself.
Building the template
After opening the template, you should see a blank slate like the below screenshot.
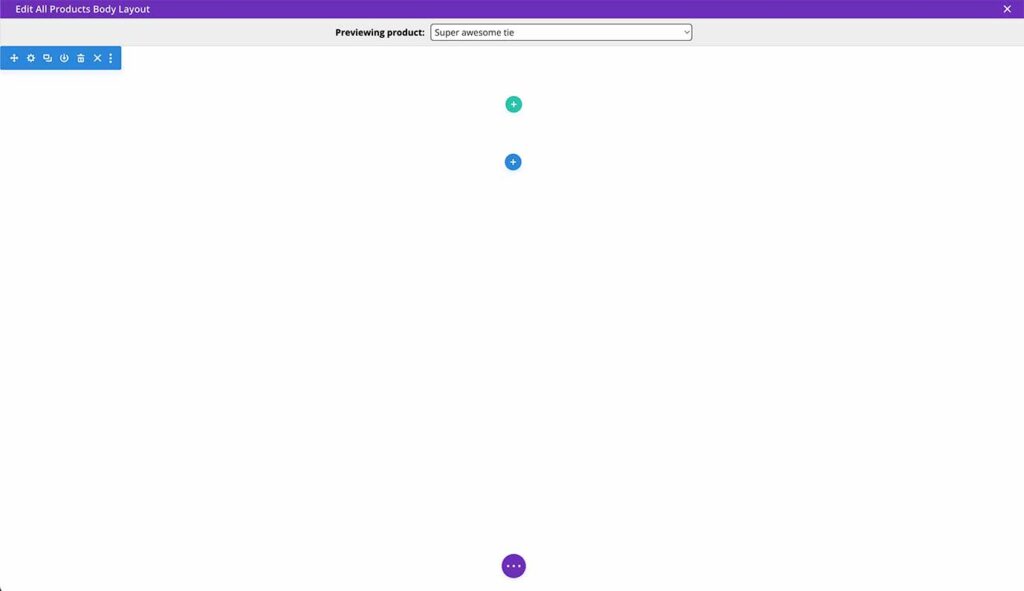
We’ll be creating the standard two column layout for a product page.
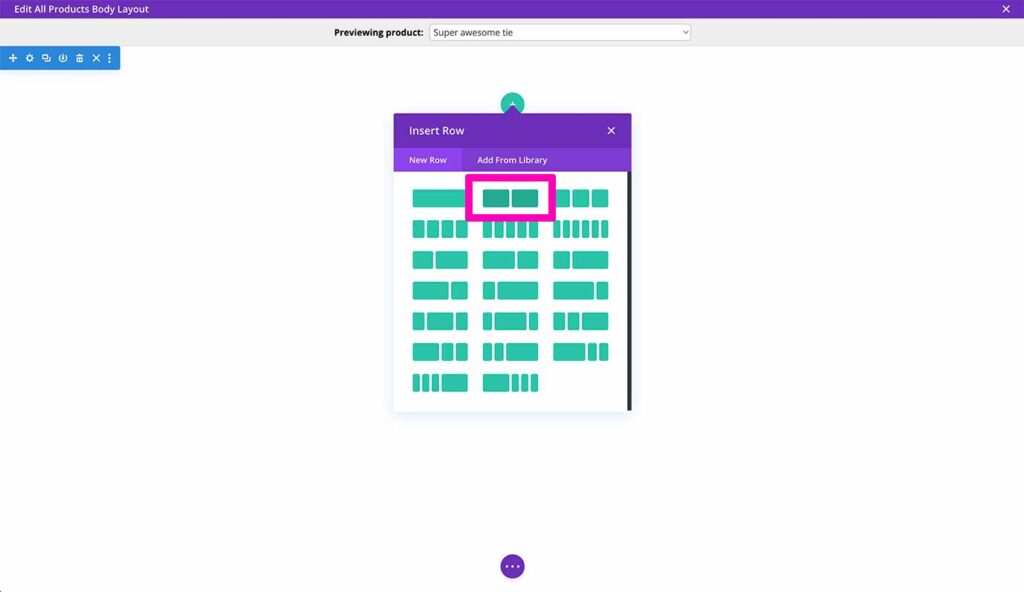
The first step is to add a section with two columns.
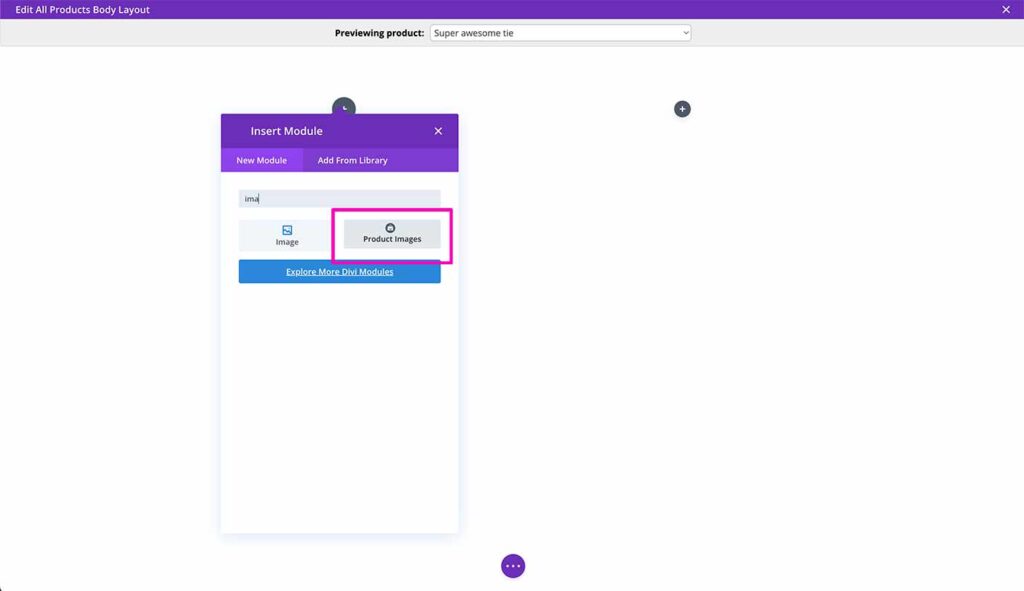
Now add the ShopWP Product Images module to the left column. Simply type in “images” into the module modal window to quickly find it.
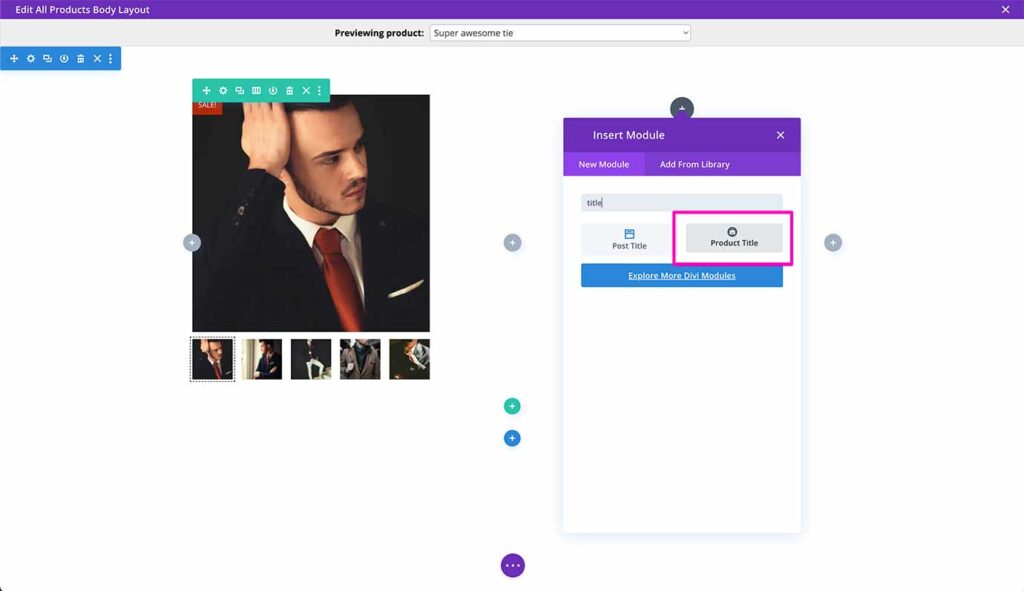
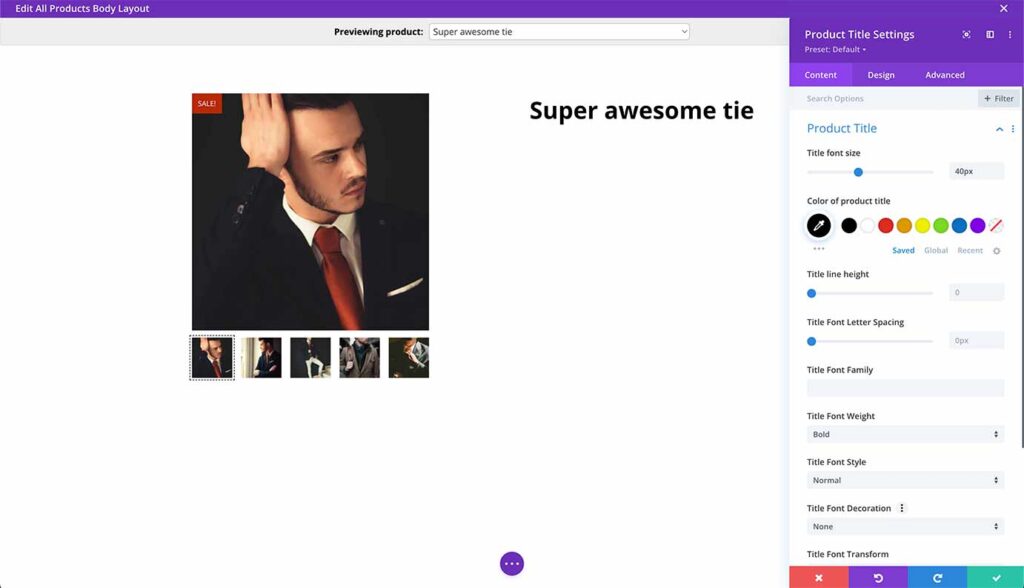
Next we’ll switch to the right column and add the Product Title. Click the add button and search for “title”. You should see the Product Title module appear. You can click it to automatically add it to the layout.
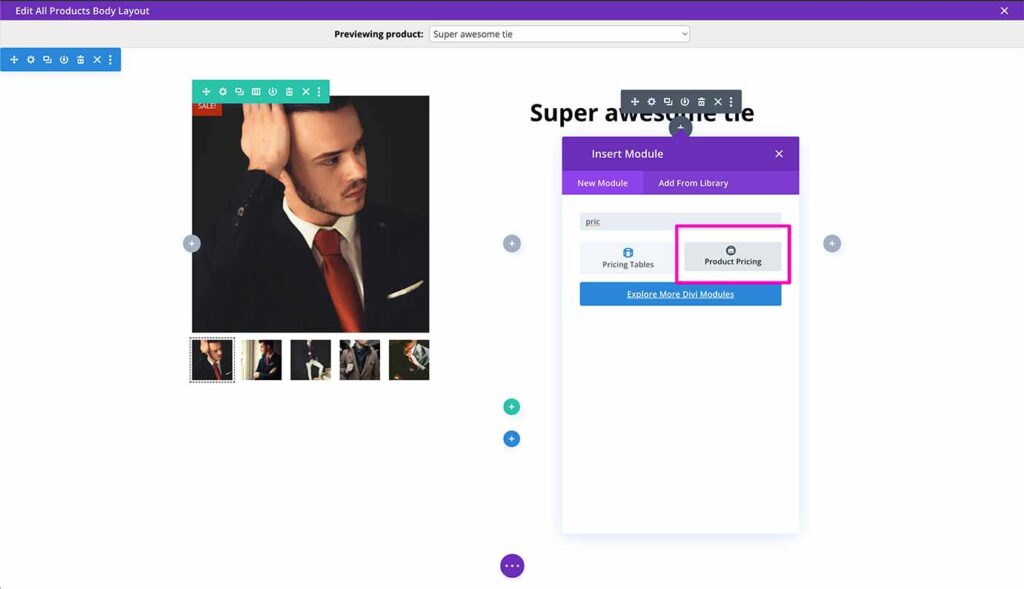
Next, we’ll add the product pricing component. Again, click the add button and search for “Pricing”. The ShopWP Pricing module should appear for you to add.
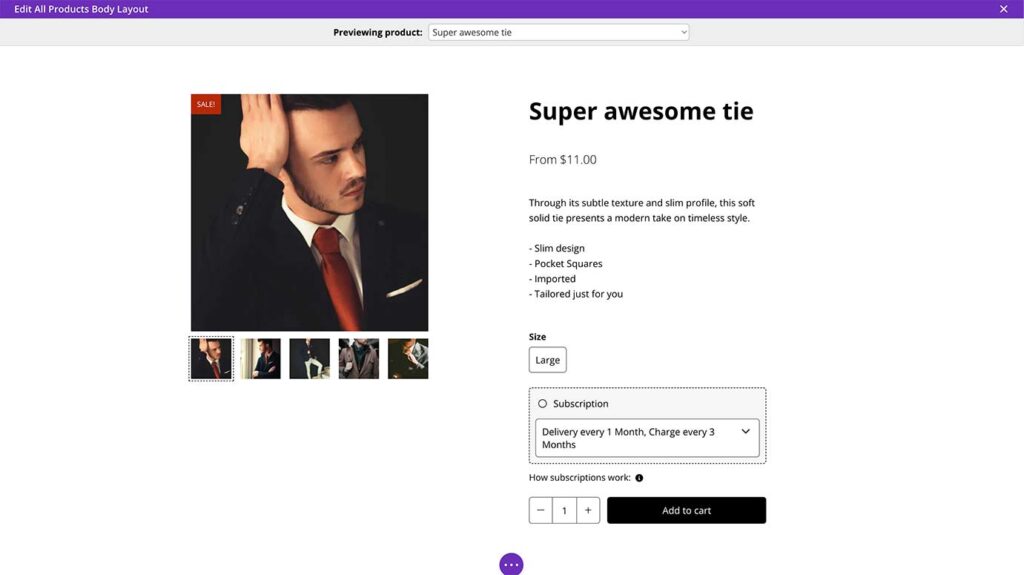
Now let’s repeat the same process for the Product Description and Product Buy Button modules. After you’re finished you should have all five modules added to your layout:
- Images
- Title
- Pricing
- Description
- Buy Button
You can experiment with all the different settings including spacing, positioning, and sizing.
After you have the layout how you want, let’s try previewing it with a different product! You can do this by selecting the product you want at the top.

Saving the template
If you’re satisfied with the final results, click the green “Save” button in the bottom right corner.
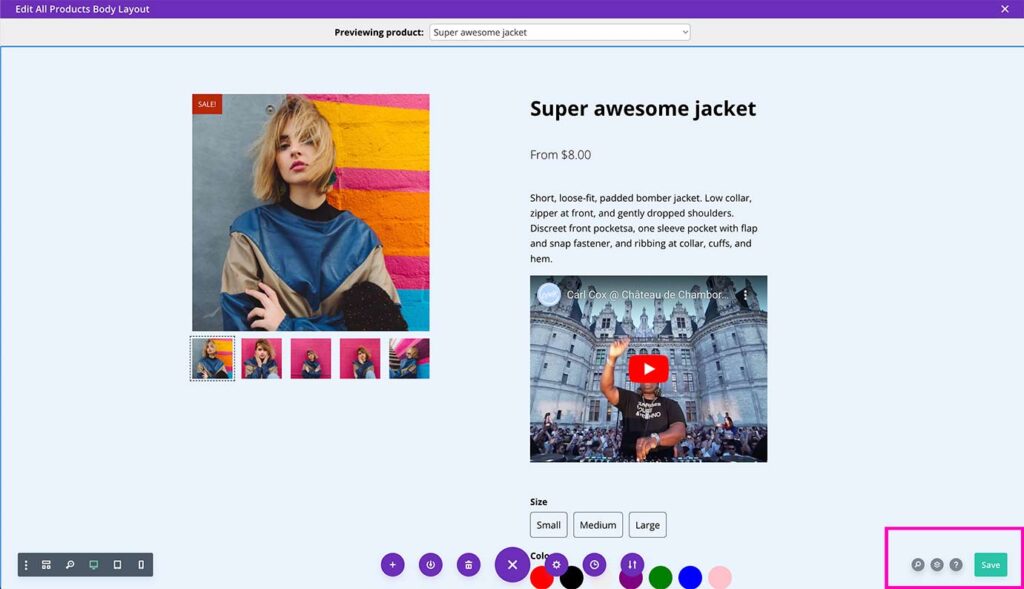
Important: make sure to save your template here as well or none of the changes will take effect!
Divi 5
The Divi team has been hard at work creating the next evolution of the Divi product—Divi 5. Thankfully they have provided early access to developers like myself to test things in anticipation for the final release.
I’m excited to say that once Divi 5 is available to the public, the ShopWP Divi extension will continue working seamlessly as before. The only thing you’ll need to do is update the extension to the latest version. All of your data, templates, and modules will remain intact.
Divi 5 looks to be very promising for speed and general quality of life improvements. I’m really looking forward to seeing the final product!
Conclusion
The ShopWP Divi extension makes it incredibly easy to customize your Shopify products within WordPress using the Divi theme. With dedicated Divi modules, you can visually design and tweak product displays, making the integration seamless and efficient.
If you have any questions, feel free to reach out in the private Slack channel or submit a ticket through ShopWP support.